
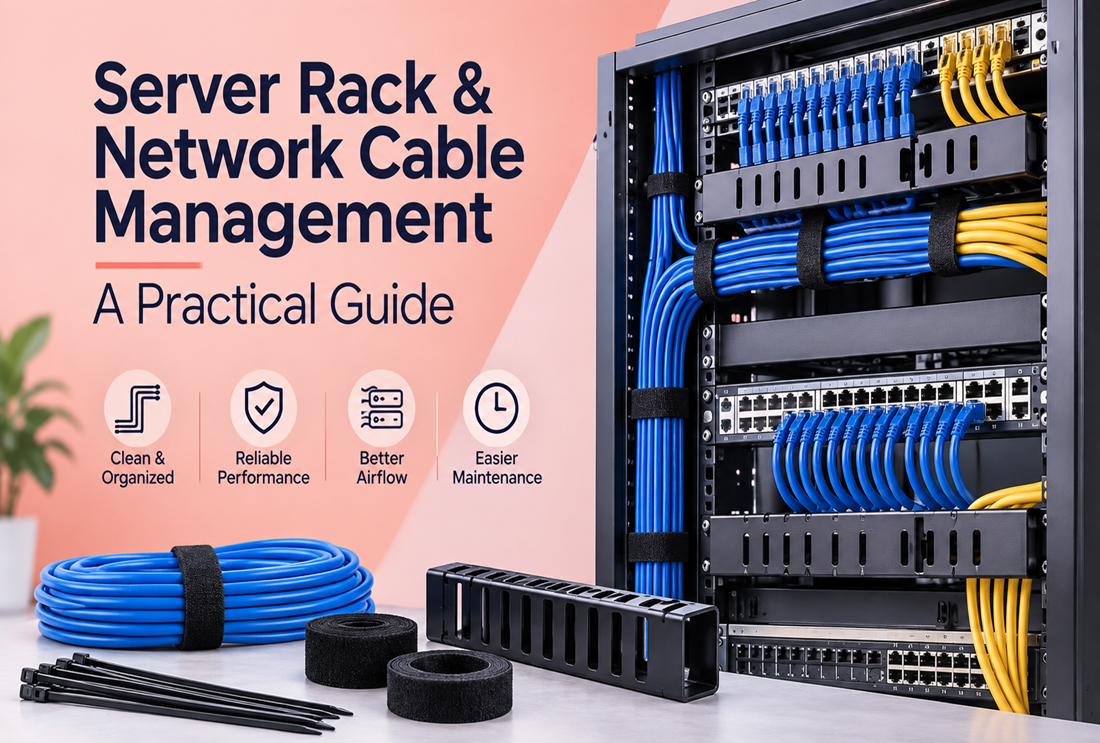
A network rack is only as good as the cabling inside it. Neat, labeled, serviceable cabling makes troubleshooting fast and upgrades painless; a tangled mess of patch cables hides faults, blocks airflow, and turns a five-minute change into an afternoon. Whether you are wiring a home lab, a small-business network closet, or a full server rack, the principles are the same — and most of them come down to using the right restraint in the right place.
This guide walks through a practical approach to server rack and network cable management: the tools that actually belong in a rack, why reusable straps beat one-time ties for data cabling, how to color-code and route patch cables, and the habits that keep everything tidy as the rack grows.
Why cable management matters in a rack
Good cabling is not about looking impressive for a photo. It solves real, everyday problems:
- Faster troubleshooting — when every cable is dressed and labeled, you can trace a link in seconds instead of pulling on a bundle and hoping.
- Better airflow and cooling — loose cable bundles block the front-to-back airflow that switches and servers rely on. Tidy runs keep intakes and exhausts clear.
- Safer changes — a clean rack lets you add, move, or remove a device without disturbing live links to other equipment.
- Longer cable life — cables that are supported and not over-bent or crushed hold their performance far longer than ones cinched into a knot.
The golden rule: use reusable straps, not permanent ties
This is the single most important choice in network cabling. In a rack, cables change constantly — you add a switch, re-patch a port, swap a bad cable. Standard nylon zip ties are designed to be cut off, which means every change creates waste, risks nicking a cable with the cutters, and tempts you to leave the mess alone rather than re-do a tie.
Hook-and-loop (Velcro-style) straps solve all of that. They open and re-close by hand, so you can re-route a bundle as often as you like, and they are gentle on cable jackets, which matters for delicate patch cables. For data cabling specifically, reusable straps are the professional default and standard nylon ties are the exception, reserved for permanent, non-data runs.
A quick comparison:
| Feature | Hook-and-loop straps | Standard nylon zip ties |
|---|---|---|
| Reusable | Yes — open and re-close by hand | No — cut off to remove |
| Gentle on cable jackets | Yes, spreads pressure | Can bite in if overtightened |
| Best for | Patch cables, bundles you re-open | Permanent, non-data anchoring |
| Adjustability | Easy to add or remove cables | Fixed once tensioned |
If you want a deeper side-by-side, our hook-and-loop straps vs. zip ties comparison covers when each one wins.
The cable management toolkit for a rack
You do not need much, but each item earns its place.
Reusable hook-and-loop straps
Your primary restraint for every data bundle. Cut-to-length rolls are handy for custom bundle sizes, while pre-cut straps with a D-ring or buckle make quick, consistent loops around a rail or bundle. Keep a mix on hand.
Color-coded ties for identification
Color coding is one of the highest-value, lowest-effort habits in networking. Assign a color to a purpose — for example uplinks, VoIP, cameras, or a particular VLAN or floor — and you can read the rack at a glance. UV-resistant colored nylon ties work well as permanent markers on runs that will not change, and colored straps work where you still want to re-open the bundle.
Cable sleeves and split loom
For the cables that leave the rack — a run to a wall port, a desk, or another rack — a sleeve or split-wire loom groups everything into one clean, protected bundle. Self-closing split loom is especially convenient because you can add or remove a cable without un-threading the whole run.
Cable trays and horizontal managers
A tray or horizontal manager gives bundles a defined path between the patch panel and the switch, so nothing droops across ports or blocks airflow. Even in a small under-desk or wall-mount setup, a simple tray dramatically cleans up the run.
Clips and mounts
Adhesive or screw-in clips route individual cables along a frame or desk edge so they follow a tidy path instead of hanging loose.
How to cable a rack, step by step
A repeatable process keeps every rack consistent, which is the whole point.
- Plan the path first. Decide where bundles will run vertically and horizontally before you patch anything. Patch panel at top, switches below it, servers beneath — keep like devices together.
- Measure patch cables to length. Cables that are the right length are the biggest single win. Excess slack is what creates the classic rat’s nest. Use the shortest cable that reaches comfortably with a small service loop.
- Route, then restrain. Dress each cable along its intended path first, then add straps. Restraining before routing locks in mistakes.
- Bundle in small groups. Several smaller bundles are easier to service than one giant trunk, and they are kinder to airflow.
- Strap at consistent intervals. Even spacing looks professional and keeps bundles from sagging. Do not overtighten — the bundle should hold its shape, not be crushed.
- Label both ends. A label at each end plus a color code means you never have to trace a cable by tugging it.
- Leave service loops. A little slack at each device lets you slide equipment out or re-patch without straining a connector.
Common cable management mistakes to avoid
- Zip-tying data cables permanently. It guarantees you will cut and re-tie on every change, and risks nicking a jacket. Use reusable straps instead.
- Overtightening. Cinching a bundle hard can deform cable and, on twisted-pair, degrade performance. Snug is enough.
- Bundling with huge slack. Coiled excess belongs in a manager or trimmed out with correctly sized cables — not looped into the bundle.
- Ignoring airflow. Never let a bundle sit across a device’s intake or exhaust.
- Skipping labels. The tidiest rack still wastes your time if nothing is identified.
Home lab vs. production: how far to take it
A home lab and a business-critical rack follow the same principles, just at different intensity. In a home lab, prioritize reusable straps and basic color coding so you can tinker freely — you will re-cable often, so anything permanent works against you. In a production or client environment, add disciplined labeling, consistent bundle sizes, dedicated cable managers, and documentation so anyone can service the rack safely. Either way, reusable-first cabling pays for itself the first time you need to make a change.
Our picks for rack and network cabling
Everything here is available at Zip Ties Essentials and suits real rack work:
- Primary restraint: the hook-and-loop cable straps range, including cut-to-length straps for custom bundles and D-ring buckle straps for quick loops.
- Color coding: the multi-color zip ties range — UV-resistant nylon in blue, green, and yellow for marking uplinks, VLANs, or services.
- Protecting runs that leave the rack: cable sleeves, such as the self-closing split wire loom.
- Defining bundle paths: a cable tray and, for single cables, cable clips.
For related reading, see our reusable zip ties guide, cable sleeves guide, and under-desk cable tray guide, or browse all cable-management products.
Frequently asked questions
Should I use zip ties or Velcro in a server rack?
Use reusable hook-and-loop (Velcro-style) straps for data cabling. Cables in a rack change often, and reusable straps let you re-route without cutting and are gentle on cable jackets. Reserve standard nylon ties for permanent, non-data runs where nothing will move.
How do I color-code network cables?
Assign each color a clear meaning — for example a color per service (uplinks, VoIP, cameras), per VLAN, or per location — and apply it consistently across the rack. Colored ties or straps at the ends let you read the whole rack at a glance and speed up troubleshooting. Write your scheme down so it stays consistent.
How tight should cable ties be on network cables?
Snug enough to hold the bundle’s shape, never crushing. Overtightening can deform cables and, on twisted-pair runs, hurt performance. Reusable straps make it easy to get this right because you can re-close them without force.
How do I keep a home lab rack tidy as it grows?
Cable reusable-first from day one: hook-and-loop straps, cables sized to length, small bundles, and a simple color code. Because a home lab changes constantly, avoiding permanent ties is what keeps it manageable over time.
Do cable ties affect network performance?
Only if you overtighten them. Excessive pressure on twisted-pair cabling can distort the internal pairs and degrade signal quality. Keep bundles snug rather than crushed and you will not have a problem.
The bottom line
Rack cabling rewards a reusable-first mindset. Make hook-and-loop straps your default, size patch cables correctly, route before you restrain, color-code and label everything, and leave service loops so future changes stay easy. Do that and your rack — home lab or production — stays serviceable, cool, and reliable as it grows. When you are ready to tidy up, start with our hook-and-loop cable straps and the full cable-management range.